
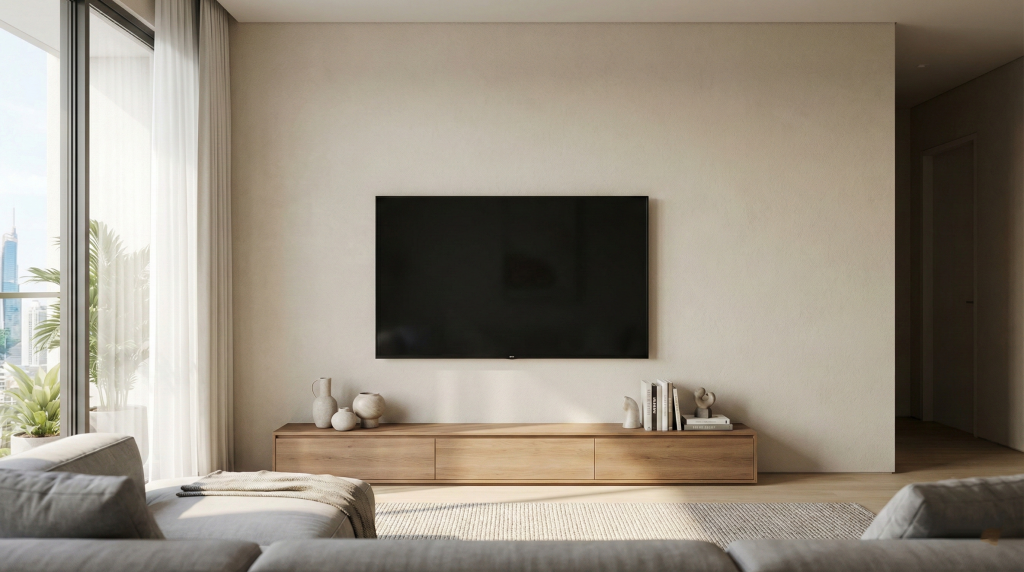
Condo TV Mounting Guide (Kuala Lumpur): Ideal Height, Viewing Distance, Wall Types, Brackets, Load Rating & Neat Cable Hiding
Mounting a TV in a Kuala Lumpur condo looks simple—until you drill into the wrong wall, the bracket sits slightly crooked, or the cables end up dangling like a “spaghetti curtain.” This condo-focused guide gives practical, non-technical tips to help you mount your TV safely and comfortably, whether you plan to DIY or book a TV mounting handyman in Kuala Lumpur.
You’ll learn the ideal TV height formula, recommended viewing distance, how to identify concrete vs drywall/partition walls, bracket types, load ratings, and clean ways to hide cables neatly. At the end, there’s a checklist before booking a handyman so you get a smooth, no-drama installation.
1) Ideal TV Height (Simple Formula That Works)
The most comfortable setup keeps your neck neutral—no looking up like a cinema front row, and no looking down like a laptop.
The ideal TV height formula
Your eye level (seated) ≈ the center of the TV screen
- Typical seated eye level: 95–110 cm from the floor (varies by sofa height and your posture)
- Rule: Mount the TV so the center of the screen is near your seated eye level.
Quick calculation method
- Sit on your sofa in your normal viewing position.
- Measure from the floor to your eye level.
- That measurement is your target screen center height.
- Convert to top-of-TV height if needed:
Top of TV height = Eye level + (TV screen height ÷ 2)
Example (simple):
- Eye level = 105 cm
- TV screen height (approx) = 70 cm
- Top height ≈ 105 + 35 = 140 cm
✅ Condo tip: In many KL condos, the TV wall is shared with dining or walkway space. Don’t only think “nice on the wall”—think comfortable from the sofa.
2) Viewing Distance (How Far Should Your Sofa Be?)
Viewing distance depends on TV size and resolution, but you don’t need complicated math.
Easy viewing distance guideline (4K TVs)
- Distance (meters) = TV size (inches) ÷ 25
Examples:
- 55″ TV → ~2.2 m
- 65″ TV → ~2.6 m
- 75″ TV → ~3.0 m
If your condo living room is smaller
Many KL condo living rooms have limited depth. If you sit closer than recommended, it’s still okay—just avoid mounting too high. A slightly lower mount often feels better in compact spaces.
✅ Condo tip: If your sofa is close (under 2.2 m) and your TV is 65″+, choose a mount that allows slight tilt to reduce glare and improve comfort.
3) Know Your Wall Type (Concrete vs Drywall/Partition)
This is where condo TV mounting gets tricky. The right fixings depend on the wall structure—using the wrong anchors can lead to a loose mount or wall damage.
Concrete / solid wall (common in condos)
Signs it’s concrete:
- Feels hard when tapping (solid “thud”)
- You can’t push a pin into it
- Usually exterior walls or structural walls
What it means:
- Strong for mounting
- Requires proper drill bit and anchors (not basic plastic plugs)
Drywall / partition / hollow wall (often used inside units)
Signs it’s hollow/partition:
- Tapping sounds more “hollow”
- You may feel slight vibration
- Often used for interior separation walls
What it means:
- Needs correct hollow wall anchors or mounting into studs
- Heavy TVs can be risky if not mounted correctly
✅ Condo tip: Some condo walls look like concrete but are actually block walls or partition panels. If you’re unsure, don’t guess—this is the #1 cause of shaky mounts.
4) Bracket Types (Which TV Mount Is Best for Condos?)
Different mounts suit different condo layouts, viewing angles, and cable needs.
Fixed mount (slim, simple)
Best for:
- TV placed at perfect viewing height
- Clean, minimal look
- Tight spaces (condo living rooms)
Pros:
- Most stable, lowest profile
Cons: - Harder to access ports behind the TV
Tilting mount (slight tilt down)
Best for:
- TV mounted a bit higher (common above a low cabinet)
- Reducing glare from windows/lights
Pros:
- Better comfort if mounted high
Cons: - Still limited side-angle viewing
Full-motion / swivel mount (adjustable)
Best for:
- Open concept condos where TV is viewed from dining + sofa
- Corner installations
- Units with weird layouts
Pros:
- Flexible viewing angles, easier port access
Cons: - Needs strong fixing and proper wall type confirmation
✅ Condo tip: If your TV is on a wall shared with the dining area, a swivel mount often gives the best daily usability.
5) Load Rating & Safety (Don’t Only Trust “TV Size”)
A bracket might say “fits 32–75 inches,” but what matters is:
- Weight rating
- VESA pattern compatibility
- Wall fixing quality
Key terms (simple)
- Weight rating: Must exceed your TV’s weight. Add buffer.
- VESA pattern: The screw hole spacing on the back of your TV (e.g., 200×200, 400×400).
- Anchor/bolt quality: More important than people think—especially in condos.
Practical rule
- Choose a bracket rated at least 25–50% higher than your TV’s weight.
- Use the correct bolts and anchors for your wall type.
✅ Condo tip: A heavy TV on a full-motion mount puts more pulling force on the wall than a fixed mount—so wall type and anchors matter even more.
6) Hiding Cables Neatly (Condo-Friendly Options)
A clean setup instantly makes your living room look more “finished.” In condos, you usually want neat cable management without major hacking.
Option A: Surface cable trunking (most condo-friendly)
- White PVC trunking that runs vertically down to your TV console
- Easy, affordable, tidy, minimal mess
Best for:
- Most KL condos
- Rentals (less wall damage)
Option B: Concealed cable inside wall (only if allowed & safe)
This may require:
- Confirming no hidden wiring/pipes
- Condo management approval (sometimes)
- Proper tools and patching/paint
Best for:
- Owners doing a proper renovation
- Concrete wall setups with planned conduit
Option C: Use a TV console strategy
- Place router, TV box, and power strip inside the console
- Use short cables and velcro ties
- Keep a single clean trunking line to the TV
✅ Condo tip: Plan your power point location. If the socket is far, you may end up with ugly extension cords—better to align TV position with sockets or plan proper routing.
Mistakes to Avoid (Common KL Condo TV Mounting Problems)
- Mounting too high
- Looks good standing up, feels terrible sitting down.
- Guessing the wall type
- Wrong anchors = loose mount or damaged wall.
- Not checking VESA
- Bracket fits the “size,” but not the screw pattern.
- Using cheap anchors on heavy TVs
- Especially risky for swivel mounts.
- No plan for cables
- You end up with messy wires or visible trunking placed awkwardly.
- Mounting before deciding where devices will go
- Astro/Unifi box, console, router location should be planned first.
- Blocking airflow
- Don’t press the TV too tight if it vents from the back.
- Forgetting viewing angle & glare
- Windows and lights can cause reflections—tilt mount helps.
Checklist Before Booking a Handyman (Send This on WhatsApp)
To get a quick estimate and correct installation, prepare these:
TV & bracket details
- TV size (inches): ___
- TV brand/model (optional): ___
- Bracket type you want: Fixed / Tilt / Swivel
- Bracket available already? Yes / No
- VESA pattern (if known): ___
Wall & location details
- Wall location: Living room / Bedroom / Other
- Wall type (if known): Concrete / Partition / Unsure
- Photo of the wall area (wide + close): ✅
- Photo of power socket location: ✅
- Where will devices go? Console / wall shelf / hidden: ___
Access & condo info (important in KL)
- Location area (e.g., Mont Kiara / KLCC / Cheras): ___
- Level: ___
- Parking: Visitor / paid / loading bay info: ___
- Preferred time: Weekday / weekend / evening: ___
- Urgency: Today / this week / flexible: ___
Ready to mount your TV the right way?
If you want a clean, safe, comfortable setup, WhatsApp us:
✅ Photos of your wall + socket area
✅ TV size + preferred bracket type
✅ Your KL area + condo level + parking info
We’ll reply with a quick estimate and recommended mount approach—so you avoid wall damage, crooked installs, and messy cables.